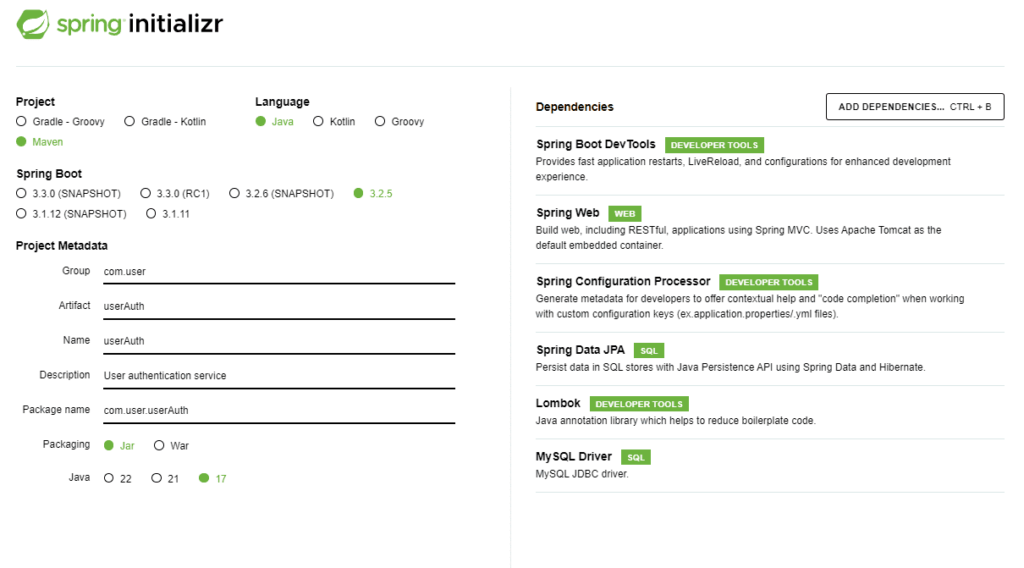
Step1: Create a project download and extract and open in intellij using pom file as project

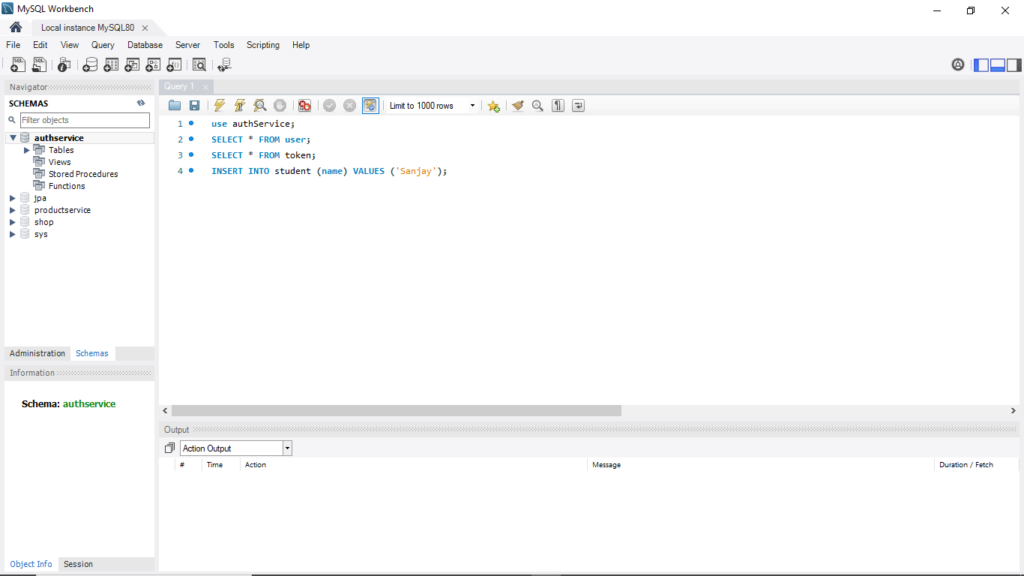
Add the database details in the “src/resources/application.properties” file:
spring.application.name=user
spring.datasource.url = jdbc:mysql://127.0.0.1:3306/auth
spring.datasource.username = root
spring.datasource.password =
spring.jpa.show-sql = true
spring.jpa.hibernate.ddl-auto = create
server.port=8080

Next, create a simple controller to check if everything is working. Create a package named “controllers” and create a “HelloController” class marked with “@RestController“
Now run the application and check
Next, create a package named “models“. Inside this package, create a class named “BaseModel“. Annotate this class with
“@MappedSuperclass“. Use Lombok to generate getters and setters above the class.
Inside the “BaseModel” class, declare a private variable “id” of type long. Above this variable, annotate it with “@Id” and “@GeneratedValue(strategy = GenerationType.IDENTITY)” to set it as the primary key with auto-increment.
Next Crate Class Role
Next Create class Token
Next Create User
Next create UserControler in Controllers package
Two things to consider here: we need to create a SignupDto and a UserService. We’ll autowire the UserService to accomplish this. We call the signUp method from the UserService, passing the required data provided by the signupRequestDto.
Next Create a package named “dtos” and inside it, create a class called “SignupRequestDto“
Next, let’s create a package named “services“. Inside this package, we’ll set up a class called “UserService“. Within this class, we’ll autowire the UserRepository and use its findByEmail method within the signUp function. If the method returns an Optional, we’ll check if the user is present. If they are, we’ll throw an error. Otherwise, we’ll create a user with a bcrypt password using bCryptPasswordEncoder and save it to the repository. in order to autowired bCryptPasswordEncoder we have to create a bean because this is third party library which we do it below.
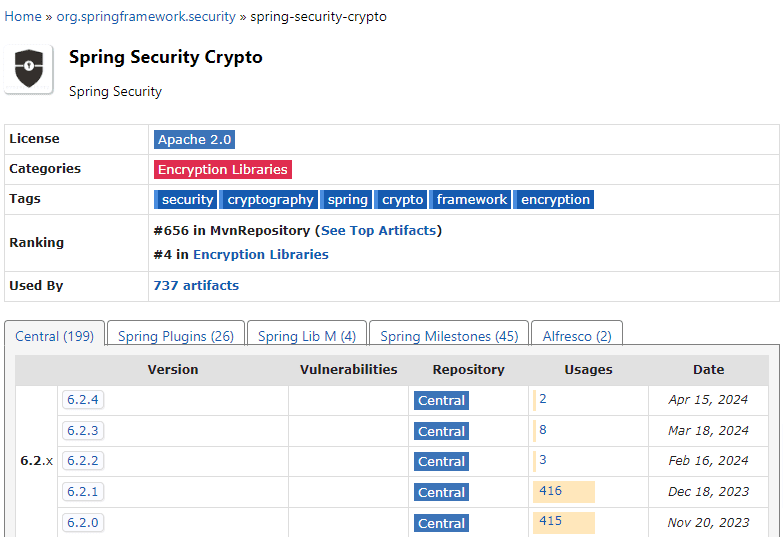
To use bCryptPasswordEncoder we have to add a dependency open Google and search “bcrypt password encoder maven”
open https://mvnrepository.com/artifact/org.springframework.security/spring-security-crypto
click on the latest version like here 6.2.4 copy code and pest in pom file as dependency and click the button on right top button to install dependency
Next, within the “repositories” package, create a class called “UserRepository“. Annotate this class with “@Repository“. Extend JpaRepository<User, Long>
JpaRepository<User, Long> {
Next, let’s create a package called “config“. Inside this package, create a class named “Configuration“. Above this class, annotate it with “@org.springframework.context.annotation.Configuration“. Inside the class, create a method (its name can be anything) and annotate this method with “@Bean“.
The @org.springframework.context.annotation.Configuration annotation in Spring signifies that the class is a configuration class. It’s part of the Spring Framework’s annotation-based configuration approach. When you mark a class with @Configuration, Spring treats it as a source of bean definitions. Essentially, it replaces XML-based configuration.
In simpler terms, it tells Spring that this class contains configurations for the application, such as bean definitions or other setup tasks. This way, Spring can manage these configurations and beans accordingly.
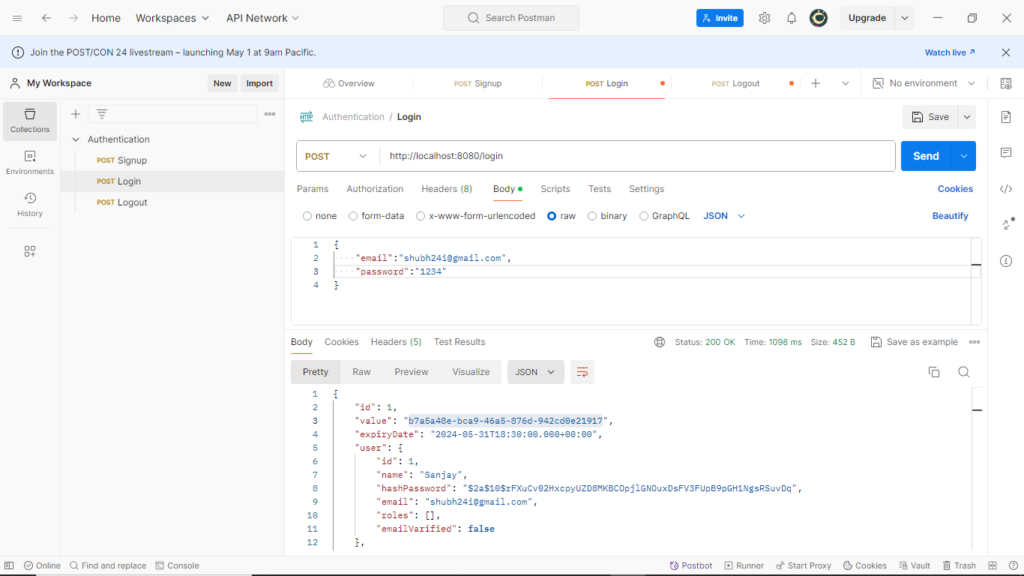
Next now open postman
Now, open Postman and select the method as POST. Use the URL http://localhost:8080/signup.
In the body section, select “raw” and then “JSON”.
Provide some data in the body like:
{
“name“: “Sanjay“,
“email“:”[email protected]“,
“password“:”password123“
}
Click on “Send“. If this works, it will return a “User” as a response.


